
This card is using the same die set as my last card, but this time I am only using the outline dies for the flower and leaf.
This card was a lot more complicated to do, and I wouldn’t tackle it if you haven’t got lots of patience. It wasn’t hard, just time consuming, but sometimes it is about the enjoyment of making the card. This card could be done with many many colour combinations, gold on white would be elegant, black on white would be very sriking, or some really bold colours would also look great.

I started out cutting out some of the roses and leaves from some hot pink card, and laying them out on a card base, to see how I could lay it out, Once I was happy with the amount of flowers and leaves and how it would look, I took a card panel, slightly bigger than the card base, and started cutting out the flowers and leaves where I want the embeds to go, making sure I saved all the little negative bits that came out, as I would need them to put back into the gaps later. Where the flowers crossed over a leaf. I probably wouldn’t need all of the leaf negative pieces, but I kept them just in case I needed them later.
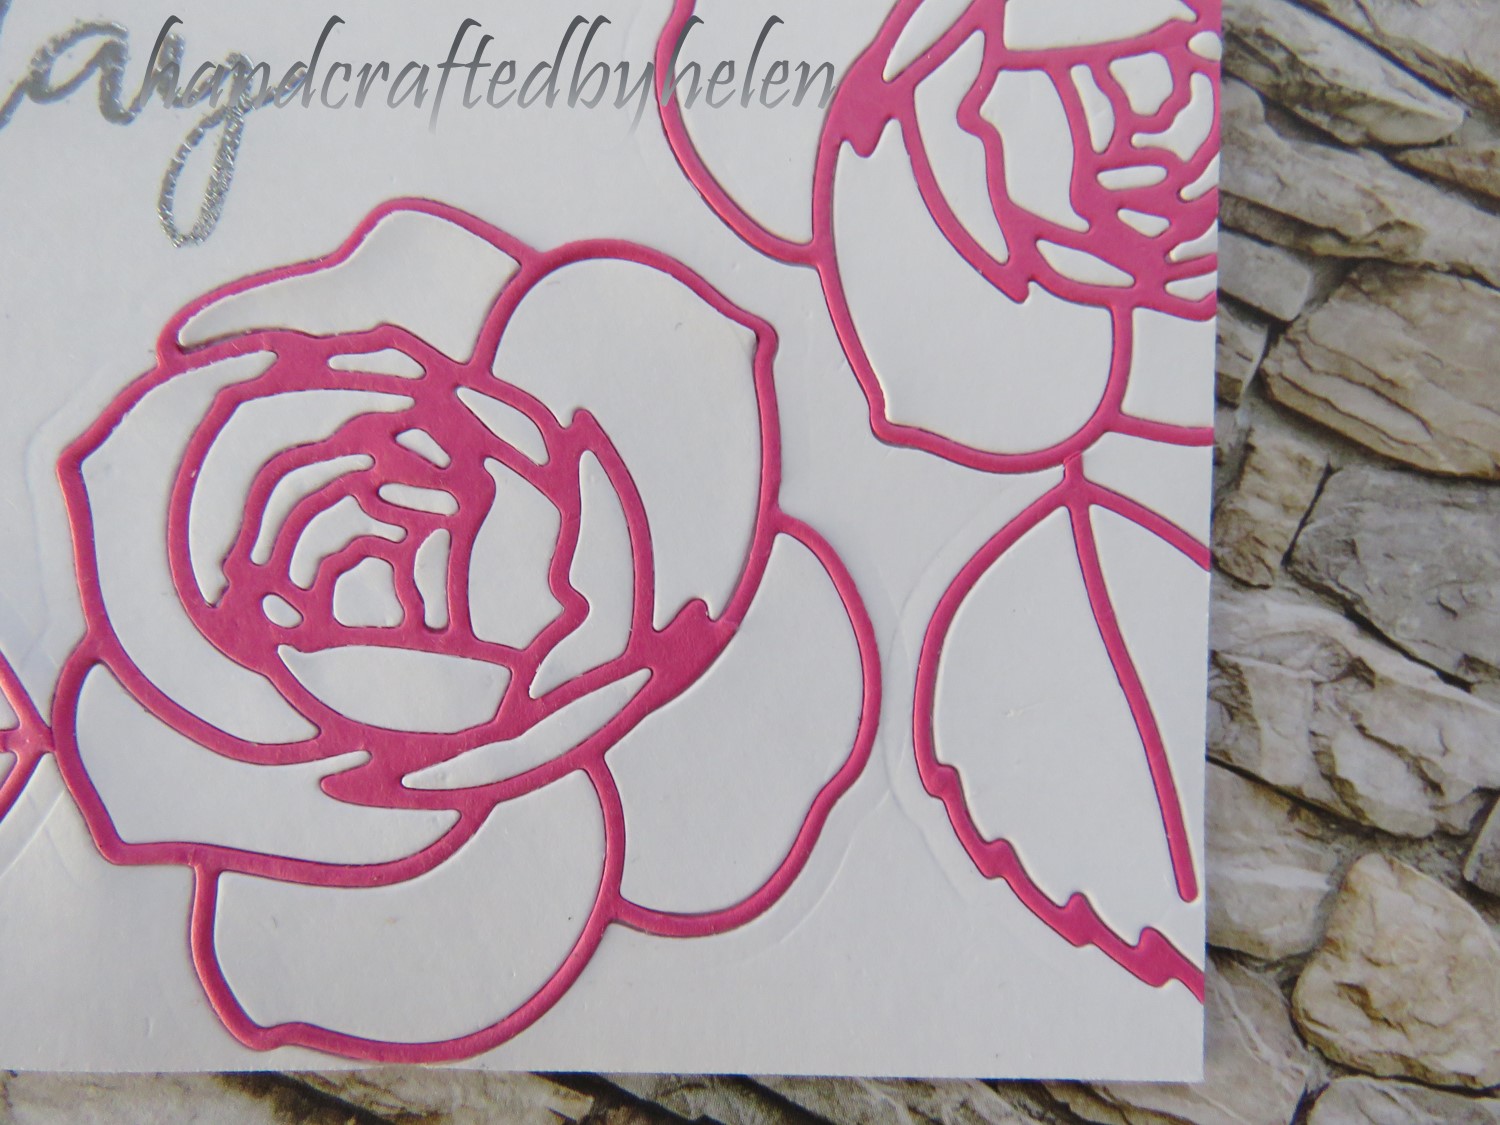
Now to put it all back together like a jigsaw. I took some double sided sticky paper, as that meant I wouldn’t need to glue back all the bits, it was the same size as my card panel that I have cut the flowers out of, and peeled one of the layers of paper off to leave the sticky exposed. I stuck the card panel that had the flowers cut out of it onto this, then I started putting the coloured die cuts into the places where they needed to go, and then all the little pieces were found and put back into the appropriate places until it was all one complete piece, but with roses and leaves embedded into it. Lastly I stamped a sentiment onto the middle of the card, using the misti, so that I didn’t mess it up, that would have been heart breaking.

Lastly I trimmed the card panel along the top, peeled the paper down from the top, put it down along the top of the card base, peeled the rest of the backing paper and stuck it on, turned it over and cut the excess off around the card base, then trimmed a small amount off one side, as it was looking a little lopsided. And there is a nice flat card to send in the mail.
I am not sure if it was worth all the effort or not, but I like it!
The video on making the card is below, or if you prefer to watch in full HD then my You tube channel is here.
The supplies I used to make this card were:
White card base 5 X 7 inches
Two white Card panels, slightly bigger than the card base
Altenew layered rose die set
Double sided sticky paper (Jac paper)
Jewel picker
Embossing buddy
Ranger silver embossing powder
Versamark sticky ink
Heat tool
Craft knife
Metal ruler
bonefolder
Sizzix Big shot machine
0 comments:
Post a Comment