Free background from VintageMadeForYou

Wednesday 19 September 2018

Modern Peonies recessed sentiment card


I started off by making a card panel with the water colour card using a larger stitched rectangle die by partially cutting it, made it fit my standard card base
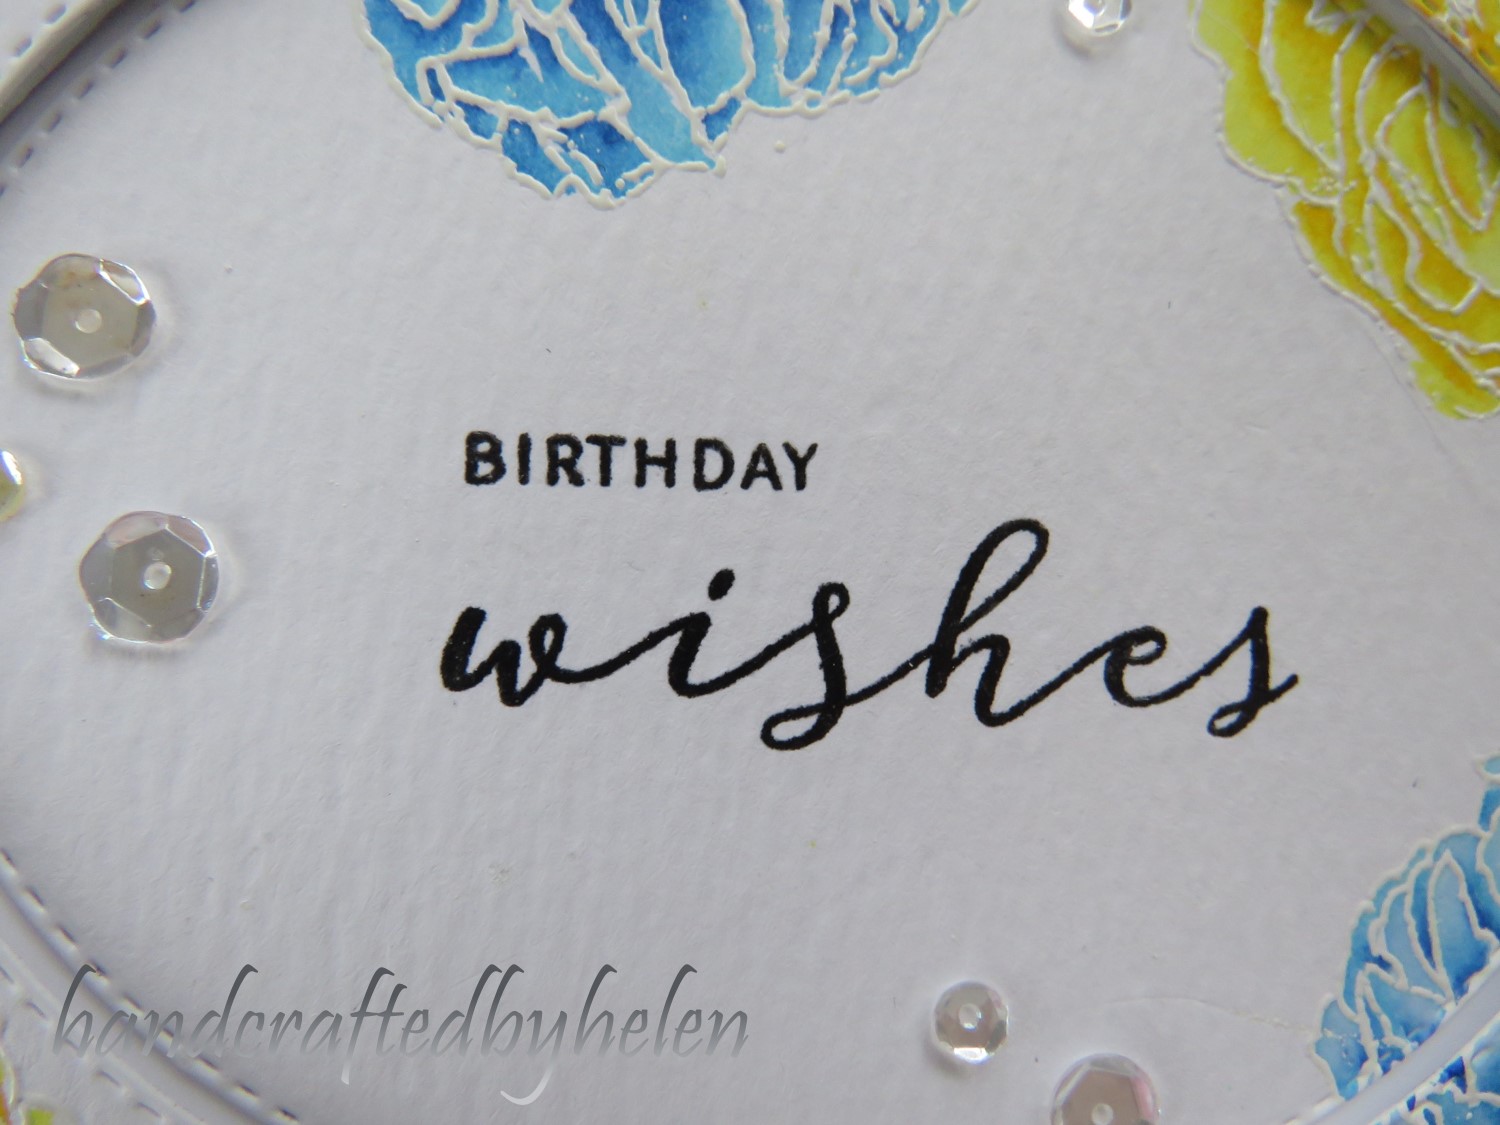
I then stamped the sentiment using the sentiment stamps from the peony set.


I then went around the perimeter of the card using the peony stamps and some of the leaf stamps. Masking some of the flowers when I stamped the leaves, so they would appear behind the flowers slightly. 


I then did some basic water colouring with the zig markers  to make some yellow and blue peonies (yes I know peonies don’t come in blue, but they do Yellow…artistic licence)
Once I was finished the colouring, and it was dry, I cut out an oval around the sentiment …. Aaaaarghhh…this feels so wrong after doing all that colouring... through some of the flowers as well!


I then put some craft foam on the back of the outside part of the card, and stuck that to my card base with double sided tape, just to give the card a bit of dimension and interest.Then stuck the oval down inside that, matching up the flowers all the way around, this was to the card base without any foam tape, so it is lower that the outside.  Things like this take a fairly ordinary card to another level I think. 
That’s the card finished.  Fairly simple and because the stamps have such small petals, it really was pretty basic colouring.


Here is a video of making the card. If you would prefer to see it in Full HD then go over to my You tube channel here.


Supplies I have used in this card are:

Wplus 9 modern peonies stamp set
Sue Wilson stitched lattice frames die
5” x 7” card base
Extra piece of Tim Holtz water colour card for front panel
Versamark ink
Versafine onyx black ink
Ranger clear & white embossing powders
EK success powder tool
Misti
My sweet petunia acetate grid sheet
Zig real brush clean clear markers
Greens 045 pale green & 046 mid green
Yellows 050 yellow, 051 Lemon yellow and 061 light brown 
Blues 036 light blue and 037 cornflower blue
Water brush
Inside outside oval die (not branded)
Craft foam
Double sided tape
Pretty pink posh Sparkling clear sequins in 4mm & 6mm
Jewel picker


Wednesday 5 September 2018

Mayfield Corner Card

I have recently purchase on of Poppystamps beautiful corner dies, I have loved them for a while now, and decided I really  should buy one, at the same time I purchased a couple of the Sizzix 3D texture fade embossing folders, I had been 'humming and haaaing' for quite some time and so thought I would get them at the same time and save on postage… well that is what I am telling myself to justify it!  I bought the timber one and the botanical one, that is what I am going to use today with the card, as well as the Mayfield corner die.


I was winging it as far as the design for the card.  I started off by having a go at the 3D texture fade embossing folder, that is really beautiful, so textured, it is amazing!  I then cut out  and embossed the two corners on the bottom of a flat card base, and coloured the embossed area with a sponge dauber and some mauve ink.  I then folded the card base in half and worked out that the embossed card would look alright above the corner area on the card base, so stuck that onto it and trimmed it to fit. 


I wrapped a piece of Mauve satin ribbon around where the join was and fastened it with some glue dots.  This didn’t need to be neat, as I am going to decorate it with some flowers.


I hunted out a paper rose I had made ages ago, which was the right colour, and found some ready made flowers that I had and made an arrangement with them where the ribbon met in the middle to hide the join.  I had a ready-made sentiment tag which I used and popped a bling dot onto the top of that and each corner of the embossing and that is the card made. 


I wasn’t entirely pleased with the arrangement of flowers, I think it was that the rose sat flatter than the other flowers, so I had trouble making it look aesthetically pleasing, but ended up having to settle for what I had managed to do.  I don’t know if others feel that way sometimes when you make a card, sometimes they come together really well, and others your struggle with and aren’t so pleased, this is one of those for me. 

Here is the video on how I made the card. If you prefer to see full HD video then here is my You tube video.


The materials I have used for this card are:

White Card base 6 ½” x 5 ½”
Extra card for embossing folder
Poppystamps Mayfield corner die
Sizzix 3D texture fade embossing folder – botanical
Sue Wilson Dainty rectangle frames and tag die 
Spellbinder rose creation die
Altenew Lavender fields crisp ink cube
Tsukineko Sponge daubers
Mauve satin ribbon
Handmade bow maker
Double sided tape
Bling dots
Craft knife
Metal ruler
Mix of mulberry paper ready made flowers