
I have just discovered Creative expression dies by Sue Wilson and was lucky enough to get one to try. I got one of the Californian collection called San Francisco, so have done a few cards for Fat Cats Card Corner.
The first one I kept quite simple, using the outside frame to make a aperture embossed it with the Ecstasy craft delicate hearts embossing folder, and raised it out with foam tape, and then set the die into the aperture. I lightly inked the edge of the die cut before taking it out of the die.
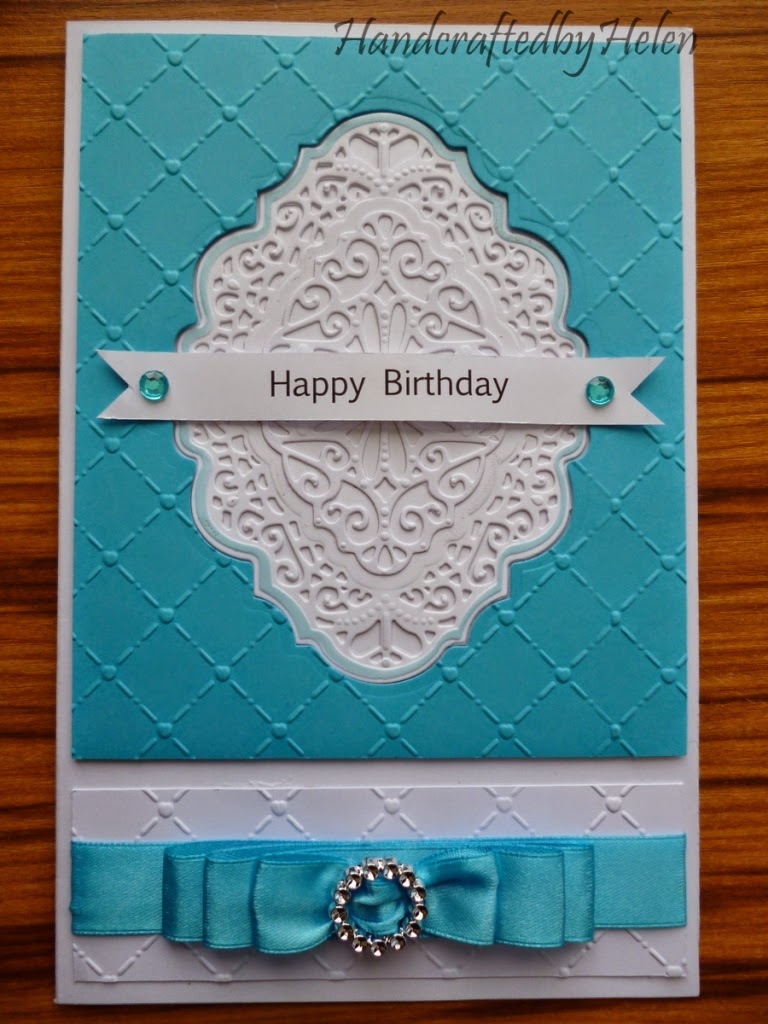
I made a banner with a sentiment that I made on the computer, with a turquoise gem on each end. I then cut a strip of white card and embossed it with the same folder, put a tiered bow on to it with a diamante centre to finish it off. I wanted it to be very simple and elegant.
Another card I did was a very simple but elegant card that I could use for an Engagement, Wedding or Wedding Anniversary, so I kept the insert blank but cut a lovely border down the edge with the Martha Stewart heart border.

For the front I cut out the fancy filigree die from the set, into a piece of white card stock and embossed it, and matted it onto some cream pearlised card and then raised it with some foam tape onto another piece of white card mounted on the cream pearlised card. I cut the centre part of the die set, and glued this onto some cream pealised card and then cut around the edge and mounted that into the centre of my filigree frame with some foam tape.
Lastly I dotted some tiny pearls onto both die pieces and tied a double bow with some cream satin edged organza ribbon and a pearl brad in the centre . I just love this card, and I am sure I will make more of them, with different colour combinations, I think it is such a lovely die.
This next one I embossed a piece of mauve card with the ecstasy delicate hearts embossing folder and cut a slightly curved piece off the bottom. I put some designer paper behind it and trimmed it to fit onto the card I wanted to use. I then put tiny pearls into each junction on the embossing folder. This was then matted onto white card, mauve card and then raised with some foam tape and put onto my card base. The sentiment is the outside cutting die with the filigree die cut and embossed and then sponge around the outside edge and the inside part where the sentiment is. The sentiment was done on the computer.

I then made some rose which I cut the petals out with the Spellbinder rose creation dies, using the second to smallest die in the set. I love love love this die, it makes such lovely roses. Before I put them together I sponged the outside edges of all the die cuts with the Tim Holtz dusty concord inkpad. I glued them along the join of the embossed card and the designer paper and put some white leaves which are from the Marianne creatables Anja leaves 1 die.
The last one I have done, I got the inspiration by one of Sue Wilson's you tube videos where she made a background using the centre die, and had put the crystal snow behind it with double sided adhesive strips which looked really gorgeous. I decided to have a go at using it as a background but decided to see if I could make it more masculine looking.

So how I made this, was to cut out two strips of card about 5mm wide and stuck the first on the top of a card I had done a sentiment on the computer and printed out. It is about 7cm down from the top. I cut out 4 of the centre dies and embossed them. I glued two of them below the strip, centering them horizontally. I then cut up the other two up, and glued them around the other two, continuing the pattern and to fill in the gaps. Finally the second strip was glued under the die cuts. Three pearls that I coloured with an alcohol pen which matched the burgandy card. It was so simple, and think very striking. It would be great in blue or green as well for a man.
I love this die set, and hope to get more of her dies in the future. They are really gorgeous and have been really well thought out, so that they are very versatile. I think we fail to use our dies to their full potential, as they can be used for so much more than just one way. Think about using them for backgrounds, or in a different way for the focal point! And that is something Sue Wilson does well on her Creative Expression you tube channel. She shows other ways of using her border, frames and has some great stamps to use with the dies. Watch this space, I am sure you will see more ways to use this and any others I might buy in the future.

2 comments:
Oh my goodness these are sooooo gorgeous Helen, and what stunning results you´ve got with this set here. I´m just totally in love with the second one here. it´s soo sooo beautiful in that soft cream/yellow color and this amazing diecut here. I´m a huge fan of her dies myself and wish I could afford to buy them all LOL. You really showed how to get the most of of your set here, and all of them are amazing and beautiful as usual hun.
Have a wonderful day and lots of fun.
Gorgeous cards Helen,love them all!
Post a Comment